Back to ELD Driver App
Fuel Receipts
The Fuel Receipt’s feature provides an easy way to capture and view fuel receipts purchased related to hours of service activities.
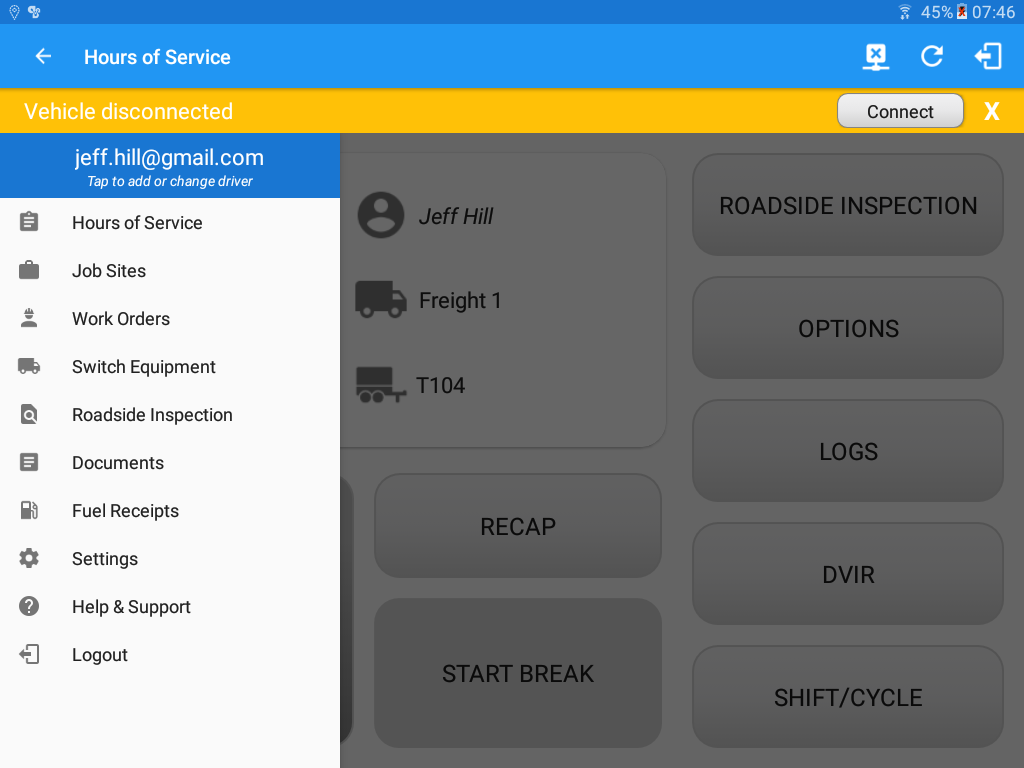
- Main Navigation Menu
- Swipe in from the left edge of the screen, or tap the
 Main Navigation Hamburger icon to show the main navigation menu.
 - Tap the Fuel Receipts option in the Main Navigation Drawer.
- Swipe in from the left edge of the screen, or tap the
-
- After which the Fuel Receipts screen will then be displayed.
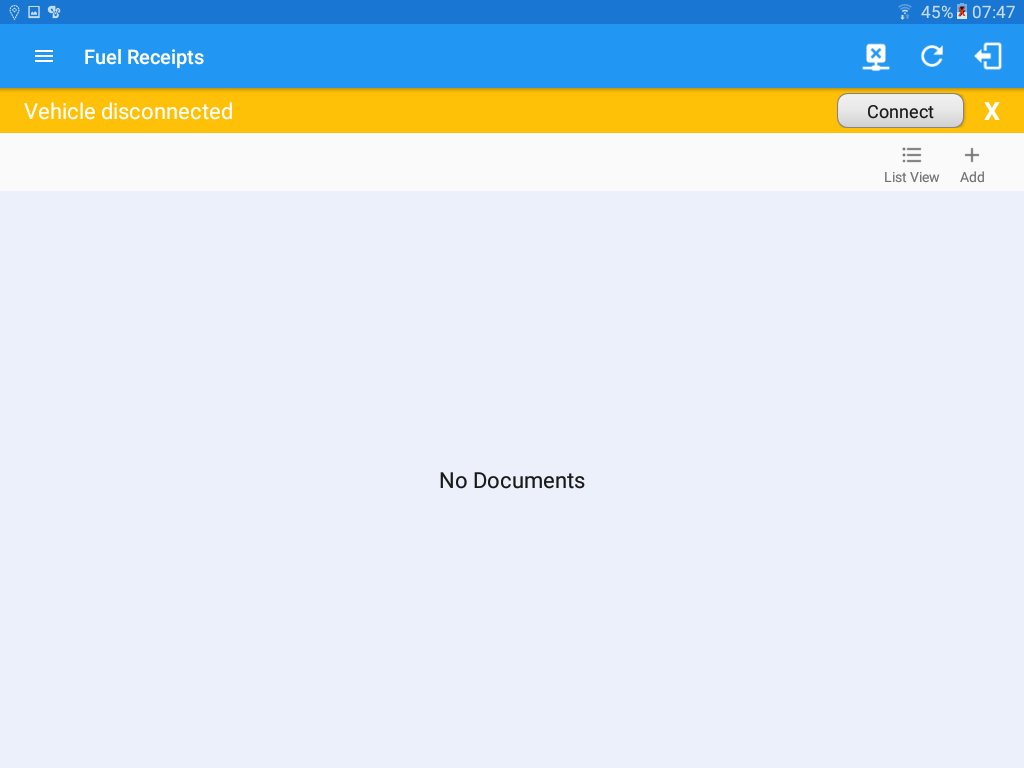
Tip:You can change the documents’ view to either “List View” or “Grid View”.
- After which the Fuel Receipts screen will then be displayed.
Adding a Fuel Receipt
-
- Tap the
 Add button.
- The camera app will then appear to take a picture of the fuel receipt.
- After tapping the Capture Image button, select the Check mark button to save the image and add it to your document. You can also discard the captured image by selecting the X mark button.

note: Unlike adding a document (e.g Citation or Bill of Lading), additional fields will be displayed when adding a Fuel Receipts. - Fill in the necessary information.
- Select a state.
- If the state selected is in US, the odometer and volume unit display is in Mi & Gallons.
- If the state selected is in Canada, the odometer and volume unit display is in KM & Liters.
- Select the Vehicle.
- Select a Fuel Type.
- Gallons and Total Cost values are required.
- Fill in the Odometer value (optional, this automatically populated with the odometer provided by the VBUS device)
- Fill in your reference number in the Reference No. field.

- Fill in the Notes field for your notes/remarks.

- After filling in all the fields you can now tap the
 button to successfully add the document.
You can also tap the button to cancel adding the fuel receipt.Notes: For every Fuel Receipt created via the App Fuel Receipt feature, it creates a Remark event, found on the Edit Logs screen, with a note “Purchased 1.345 gallons at $53.80 price (sample note for the above purchased).
- Select a state.
- Tap the
Updating and Deleting a Fuel Receipt
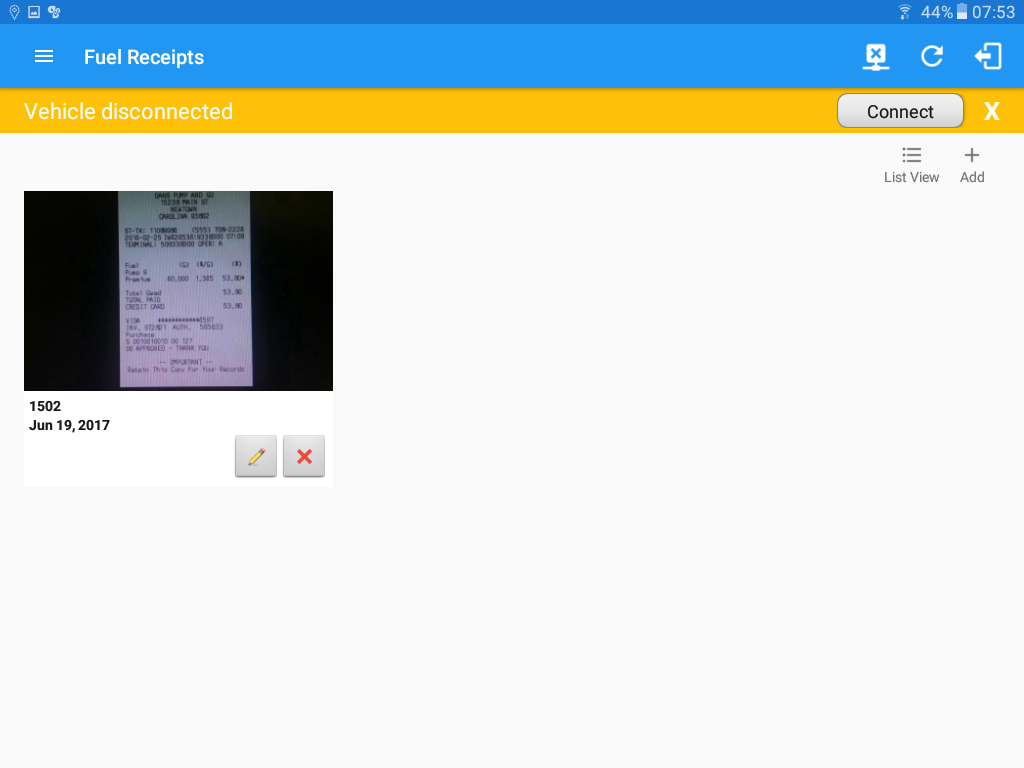
- Updating a Fuel Receipt
- Tap the
 Edit button of a specific document.
 - You can update the appropriate areas on the Edit Fuel Receipt screen.
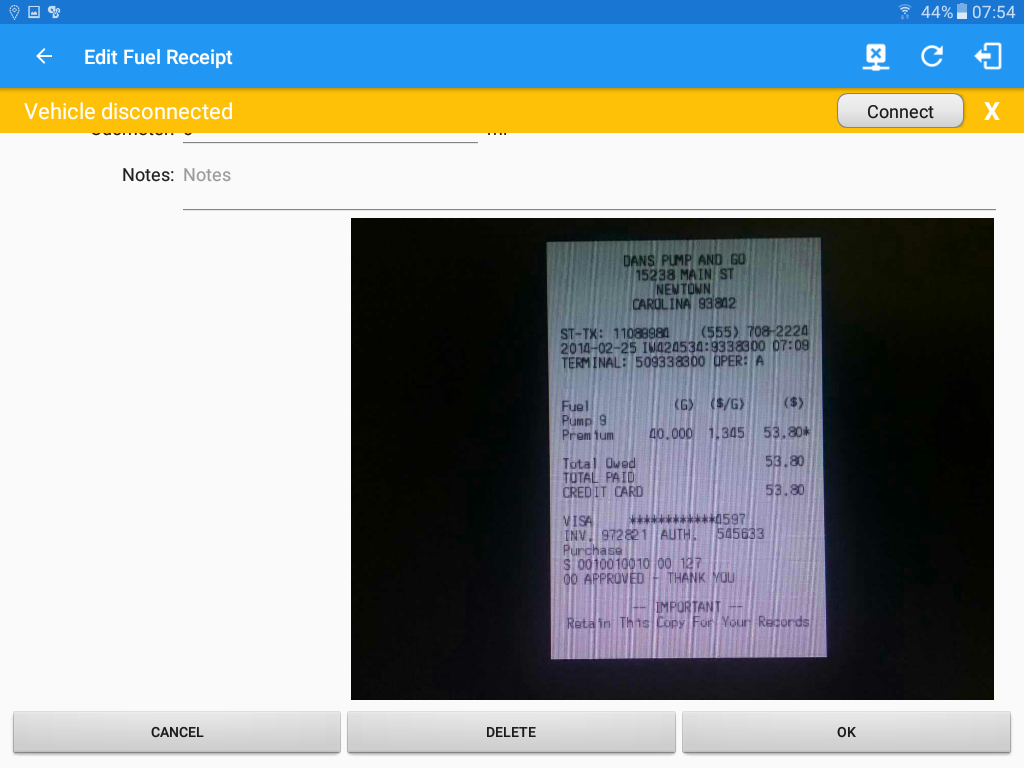
- Tap the
 Ok button to save the changes you made in the fuel receipt.
Tap the Cancel button to cancel modifying the fuel receipt. You can also delete the fuel receipt by tapping the
  Delete button.
- Tap the
- Deleting a Fuel Receipt
- Tap the
 Delete button of a specific fuel receipt.
 - A message dialog will prompt asking for a confirmation either you want to successfully delete the fuel receipt or not.
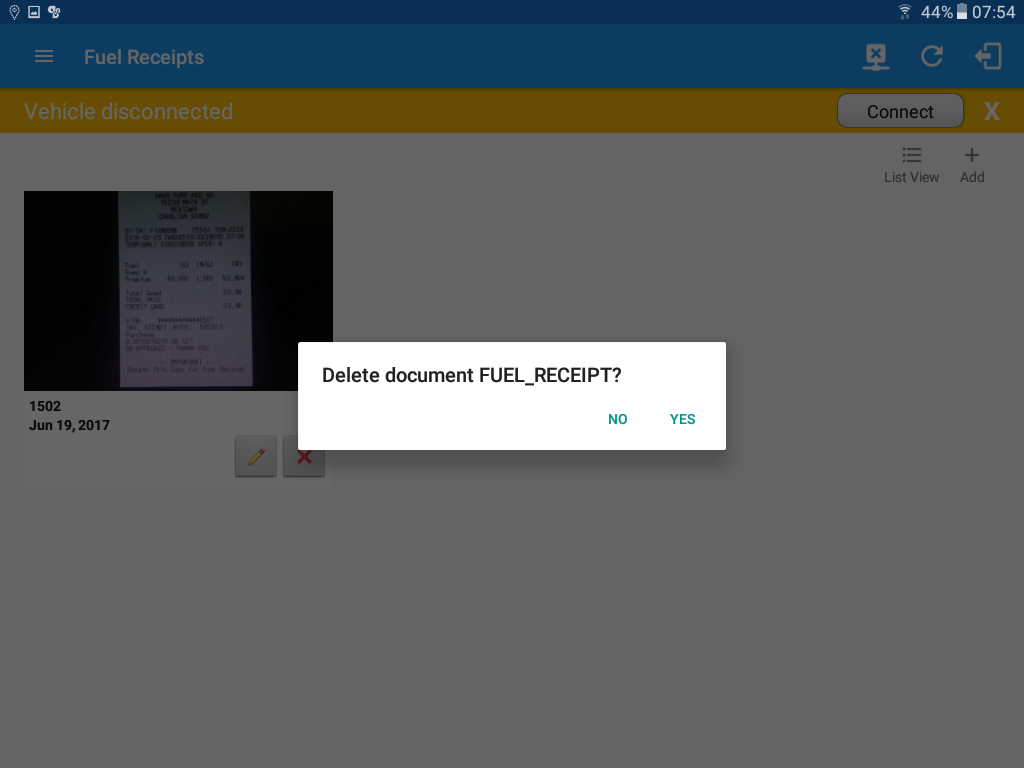
- Tap the Yes button to successfully delete the fuel receipt. You can also tap the No button to cancel deleting the fuel receipt.
- Tap the