Back to ELD
If you are a brand new client, your set-up for ELD will be done from your GPS tracking platform. The GPS platform is also where you will retrieve your State Mileage report.
DO NOT COMPLETE THE SETUP DIRECTLY INTO YOUR ELD ADMIN PORTAL.
(This will cause issues with set-up).
You will need to enter the following data in your GPS account:
-
- Drivers*
You will need to enter all of your drivers’ information in the Drivers tab.
- Drivers*
![]()
Click on “New Driver” in the right corner
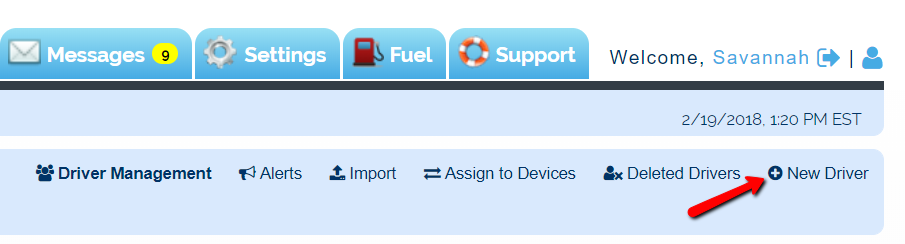
Then fill out the required fields including the ELD section by clicking on the “Check to enable driver for ELD” checkbox.

The Department of Transportation requires that every mile driven on a vehicle with ELD is accounted for, regardless of who is driving, so that means you will have to create a driver login for anyone who will access those vehicle(s). Any drivers who are not required to log Hours of Service (but will use a vehicle with ELD) will be marked as “Exempt.” (You must also mark them as Active.)
Note: Users are not Drivers; Users added here will not be able to log into the Driver app, and Drivers added in the Drivers section will not be able to log into the admin portal. Individuals that need to access both will need to be added in both areas with a unique email address in each, as required by the Department of Transportation (DOT).
*As per the Department of Transportation, ALL movement on vehicles outfitted with an ELD solutions must be accounted for. This means ANYONE that moves the vehicle any distance MUST log into the Driver app to account for the vehicle movement, whether or not they are subject to recording their Hours of Service. Anyone that accesses the vehicle that is not subject to recording Hours of Service will need to have an Exempt driver login.
Users – any Users that will need to log into both the GPS tracking platform as well as the ELD Admin portal can be entered in your GPS tracking account in the Users section under the Settings tab.

Click on the New Users link
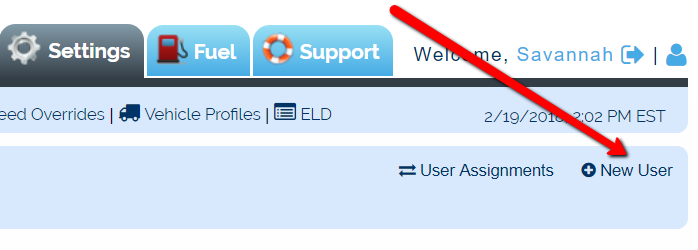
Be sure to click on the “Check to enable user for ELD” checkbox to fill out the additional required fields, including the User Role. More details on User Roles are following. Be sure to click the Update button at the bottom to save these changes.
Devices – This link is located in the Settings Tab and is named Devices.

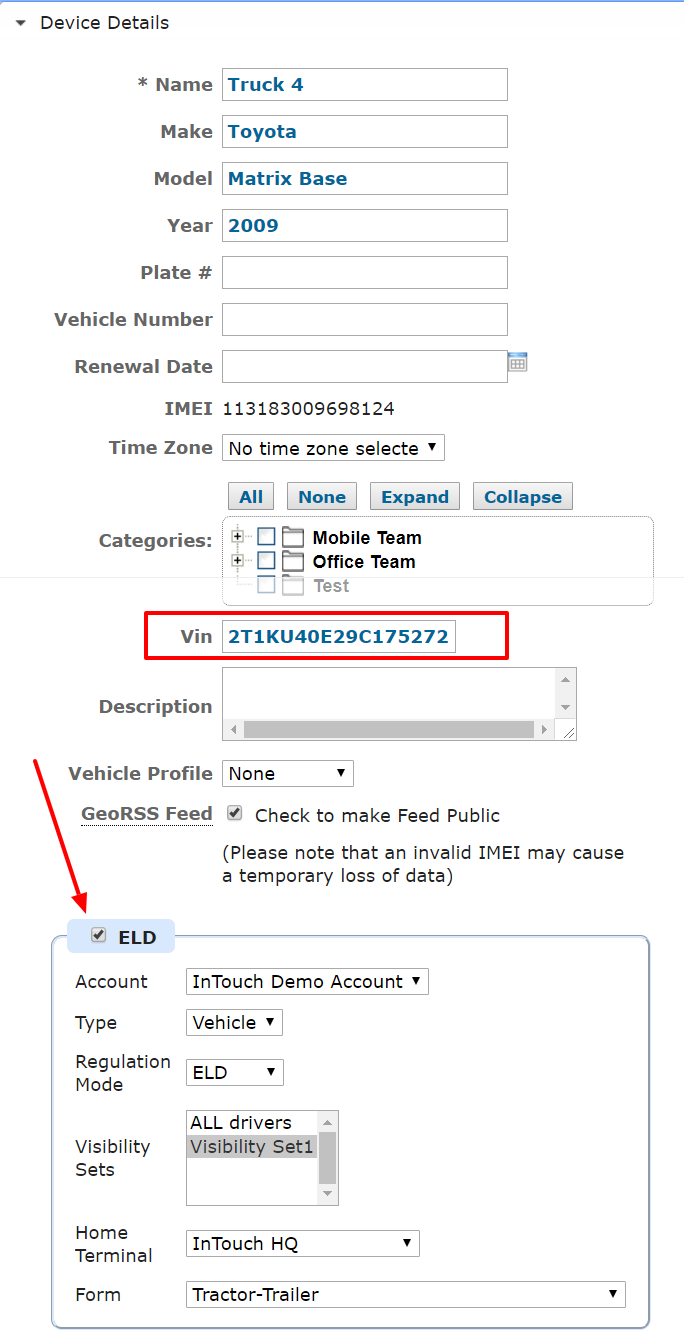
This is where you will match up the identification number of the tracking device (listed on the back of each device) with the vehicle it was installed in to give the device a custom name (vehicle identifier). Under the main Settings tab click on Devices. Then click “edit’ next to each device.

Next you’ll click on Device Details to fill in the name and additional details. Again, remember to click the “Check here to enable device for ELD” checkbox to fill in the additional required fields, including selecting the correct inspection form to be used for DVIR’s. Be sure to click the Update button at the bottom to save these changes. See below regarding adding trailers.
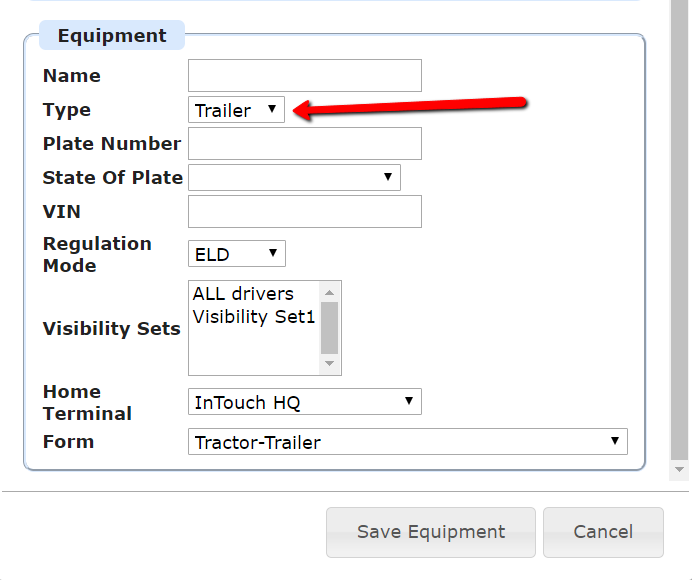
Trailers – Trailers can be added in the ELD Section under the main Settings tab. Click on the Equipment section and then the vehicle icon to add a trailer and fill in the details.
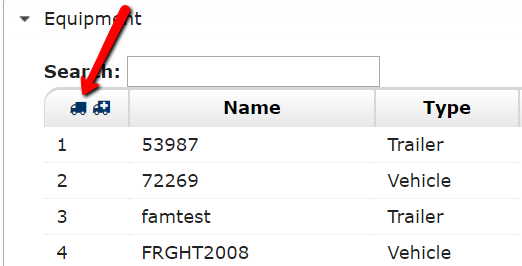
Make sure under the “Type” dropdown box to select Trailer and click Save Equipment at the bottom.
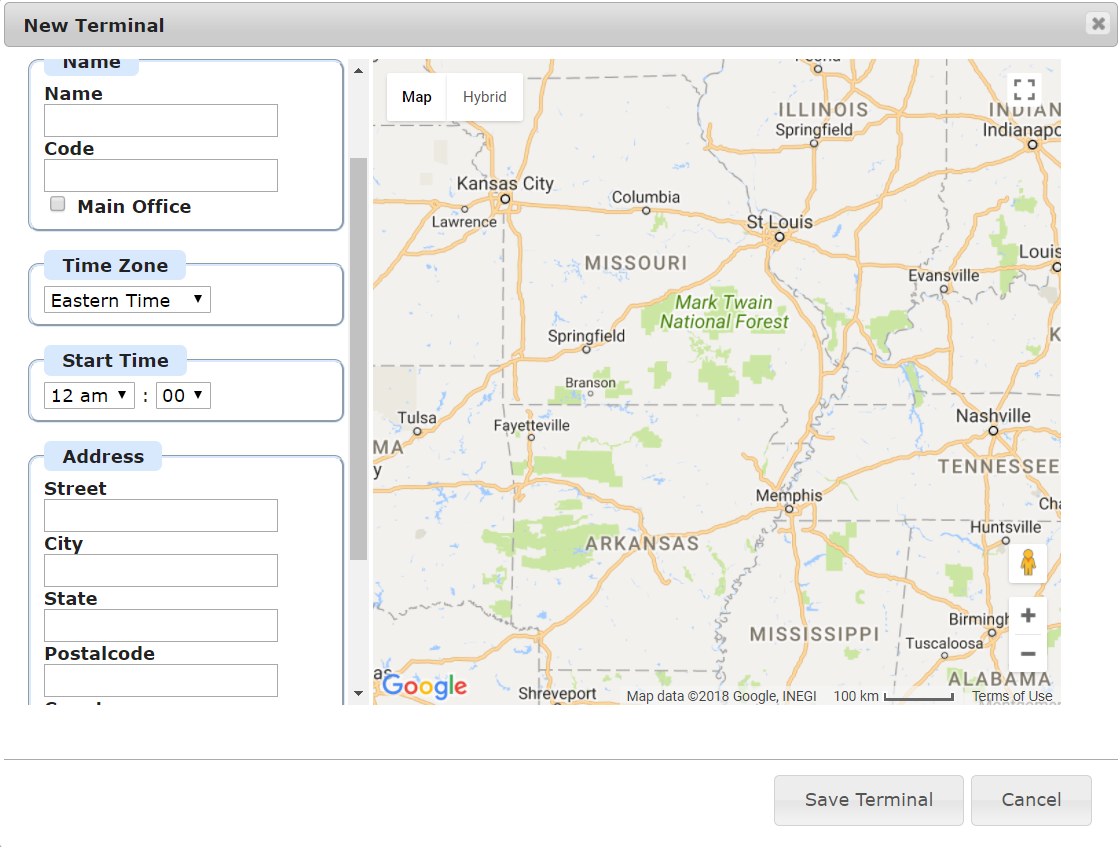
Additional Terminals – We have entered the first terminal for you, but if you have more than one terminal you will need to enter them in the ELD section under the Settings tab. Click on the Terminals section and click the “pin drop” icon to add additional terminals.
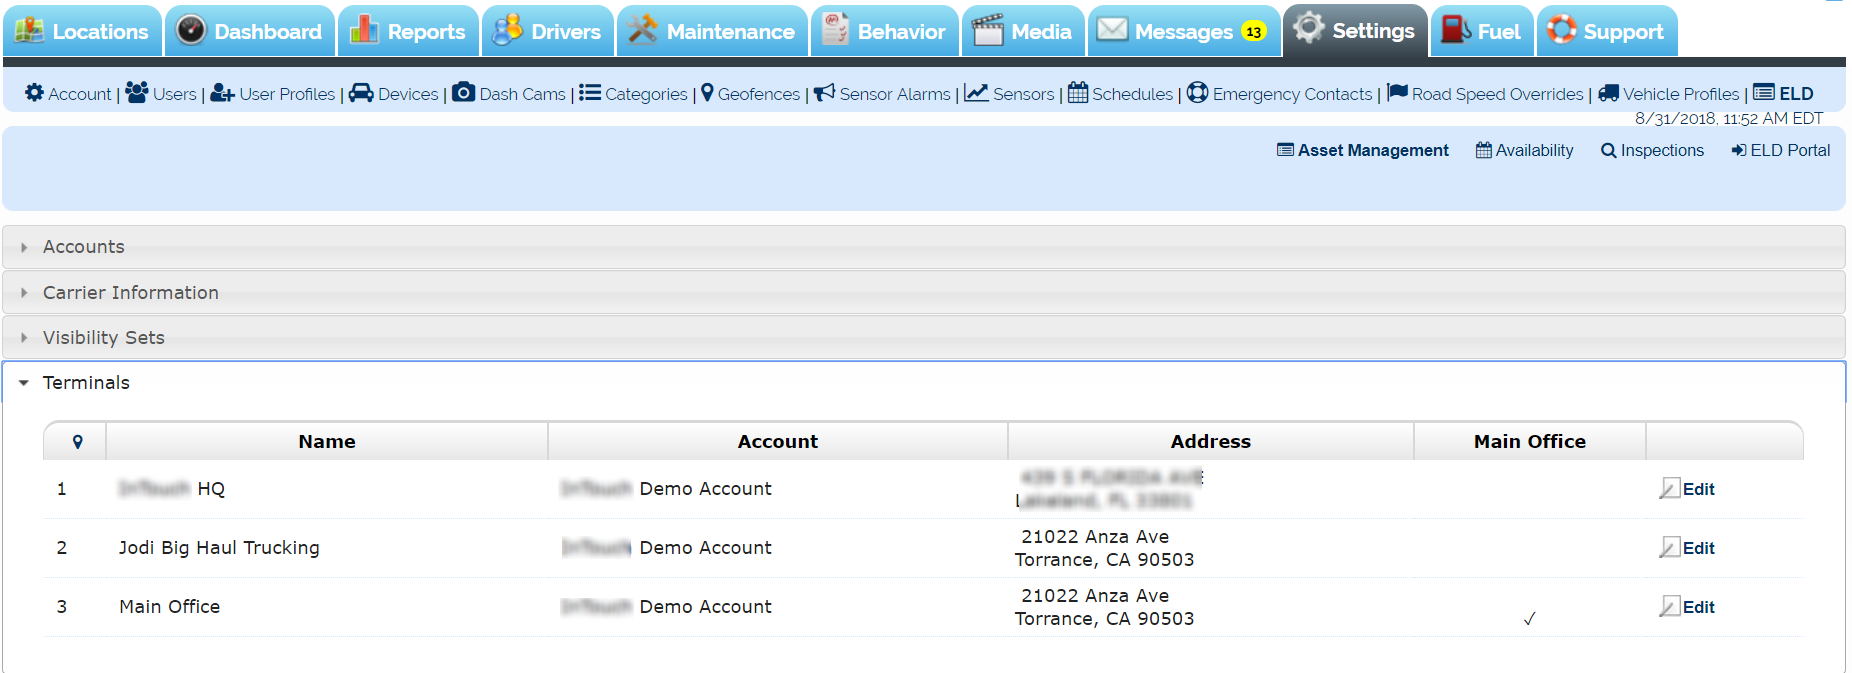
Make sure that each Terminal has a unique name, as you need to be able to tell them apart. And be sure to use the physical location of the terminal in the address. No PO boxes or off-site offices.
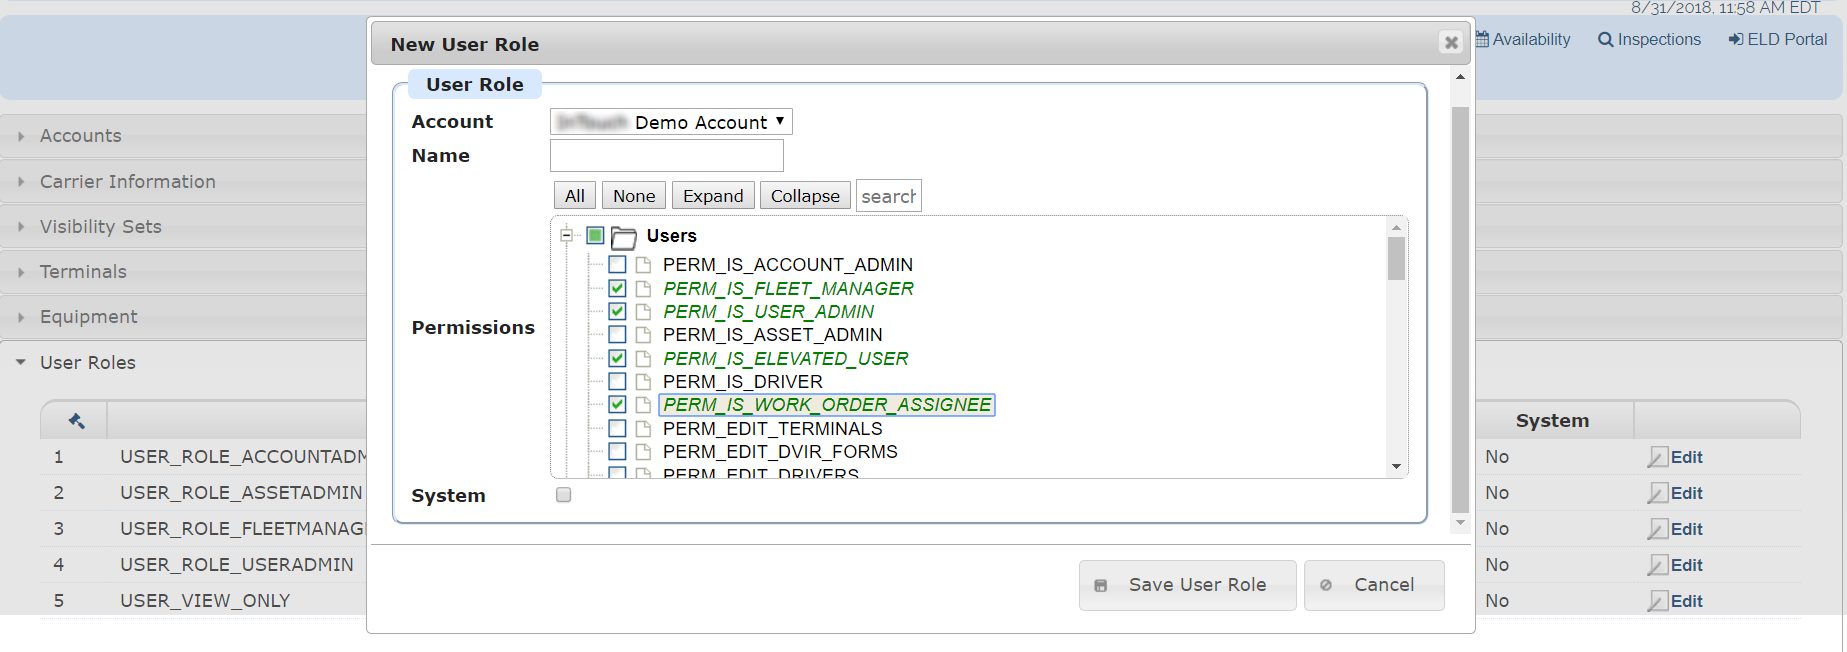
User Roles – User Roles are permissions within the ELD Admin portal. To learn what permissions each role includes, click on the User Roles section under ELD in the Settings tab and click Edit next to each one to see the details.

Please do not try to edit the existing User Roles. Some of these need to stay as they are. However you can create custom User Roles to fit your needs, as seen here.
Carrier Information – you will need to add your Carrier information with your DOT number in the ELD Section under the main Settings tab.
Companies that operate under multiple DOT numbers will need to set up a carrier for *each* DOT number. Drivers will need to toggle between these numbers as needed in the Driver app. The ability to toggle requires permission to be set for the driver to do so.

There are several account set up items that will have to be handled directly in the ELD Admin Portal:
Alerts – like your existing GPS alerts, these are emails or text messages that are triggered by certain events. However these alerts deal only with ELD related events.
Driver Exceptions – while you cannot create Exceptions, you can control which ones are available for your drivers to select. Not all Exceptions apply to all industries. For questions regarding which Exceptions can be used and when, please consult the Department of Transportation.
DVIR Form – This section will let you tweak the existing DVIR forms as well as creating new custom ones.
Button Editor – Allows for unneeded buttons to be removed from the Options section of the Driver App.
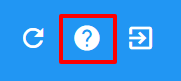
For assistance within the ELD Admin Portal, you have a help section which will pull up all relevant information for the page your are currently viewing. This is accessed through the questions mark (?) icon in the upper right hand corner.