Back to ELD Driver App
Driver Logs
The Driver Logs allows you to view and update the electronic recording of your duty status events in the HOS app’s online driver logs. This is where you also store shipment data, send the certified logs to its intended recipients and manage other driving duty information. Also this is where you can determine the cycle used and ‘Start Hour’ time.
Note: The daily log for the current day will be in expanded view by default. The daily driver logs for the previous days will be in collapsed view.

Tap the Driver Log Accordion/Collapsible Menu Header to expand or collapse the driver log entries.
![]()
Using the Driver Logs Bulk/Multiple Selection Functions
The first part of the Drivers Log’s user interface features controls and information for the bulk/multiple selection features. These controls will allow you to perform features for multiple selected driver logs.
 Select All Certified Logs Button: Tap the button to select all certified driver logs.
 Selected Certified Logs Counter: This shows the number of selected driver logs.
 Reset Button: This clears/deselects all of the selected driver logs.
The Driver Logs Accordion Header Features
- Accordion/Collapsible Menu Header: Tap the header to expand or collapse the driver log entries.

- Daily Driver’s Log Entry Check-box (Still Uncertified Log): Tap the check-box to certify the selected daily log.
- Daily Driver’s Log Entry Check-box (Already Certified Log): Tap the Edit button to uncertify the selected daily log.

- Daily Driver’s Title Log (Recertify Log): When a certified log has been edited in the portal, it prompts the driver to either accept or reject the proposed changes through the “Edit Suggestions” dialog. Once the driver accepts an edit request, it will display a note on the daily driver’s title log stating “Recertify”, which indicates the log needs to be certified again in order to include the records changes.

 Recap Button: Tap the button to bring up the recap information for the specified duty day and corresponding cycle data as of the said specified day.
 Certify Button: Tap the button to certify the selected daily log.
- Select the Certify Now button, if the current status is Driving, a dialog will pop-up to confirm changing the status to off-duty.
- If there are Pending Edit Requests, the Pending Edit Request dialog will appear prompting the driver to accept or reject the events before certifying the log
- Choose the Cancel button to cancel changing the status.
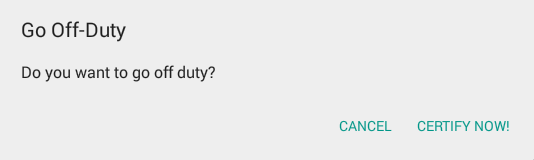
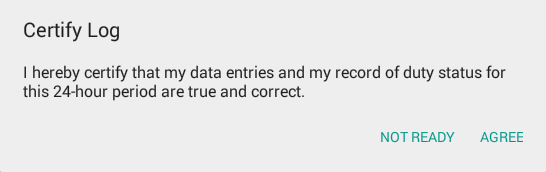
- Select the Agree button to confirm certifying a daily log.
- Choose the Not ready button to cancel certifying a log.
- The Daily Log PDF report will then be generated.
- The application also supports generation of the Driver’s Daily Log when in Offline mode. These logs are then stored locally in the App Name’s directory, same location as to where the DVIR Reports (pdf) are stored.
Note:
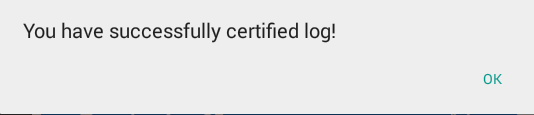
Per FMCSA ELD rule 395.15 (c) (11) The names of the co-drivers are displayed and are listed either on the same line as the list of Violations and Exceptions or below it. Also the Vehicles/Trailers used by the driver(s) are also displayed. Click here to view a sample of the Daily Log PDF report.- Tap the OK button to confirm the certification of the driver’s daily log.
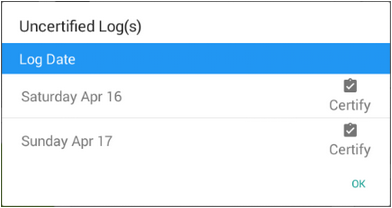
- However if the driver did not certify all the daily logs, the ELD prompts the driver upon logging in and logging out to the app when there’s a past recorded log that are not yet certified.
- Tapping on the Certify button will display the certify dialog. Upon certifying the driver’s daily log(s) it will create a Certify event with a remark which states: “Certified Log <date of the log> ” and will be recorded and displayed on the Edit Logs screen
 Edit Button: Tap the button to uncertify the selected daily log and reopen the said log for editing.
Note: Only driver logs that have not yet been certified can be edited, If a user wants to edit an entry for a day that’s already certified, a warning dialog will launch the “uncertify dialog” before letting the edit occur.- Select the Uncertify Now button to confirm uncertifying a daily log.
- Choose the Cancel button to cancel uncertifying a log.
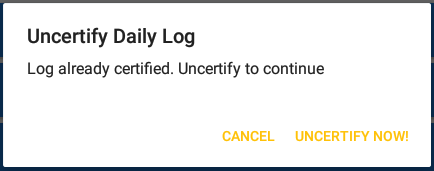
- Tap the OK button to confirm the uncertification of the driver’s daily log.

- Daily Driver Logs Full Time Range: Displays when the Start Hour value is not set to zero or default (12AM).

The Driver Logs Accordion – Expanded View Features/Editing a Driver Log Daily Driver’s Log Chart: Tap the driver’s log chart to start editing it.
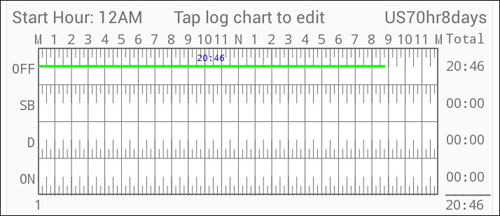
For further information on how to update driver logs, please proceed to the Hours of Service App Edit Driver’s Log help screen.
Daily Driver’s Form: This is where you can view the other required information that should be in the driver’s daily log. 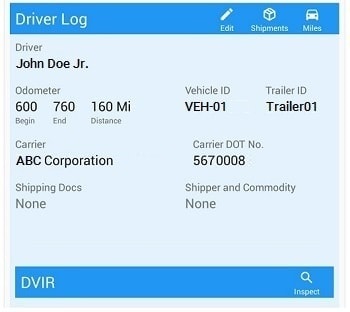
The following are the information you can view:
- Driver Information
- Driver Name – This shows the name of the driver.
- Vehicle Information
- Vehicle Name – This displays the Vehicle ID.
- Trailer Name – This is where you can view the Trailer ID.
- Carrier – This displays the name of the carrier.
- Shipping Information
- Shipping Docs – This is where you can view the bill of lading or manifest number.
- Shipper & Commodity – This displays the shipper name and the type of commodity which the shipment contains.
- Edit Daily Driver’s Log Form Button: Tap this button to bring up the Driver Log Form which is the form where you can update the other required information that should be in the driver’s daily log.
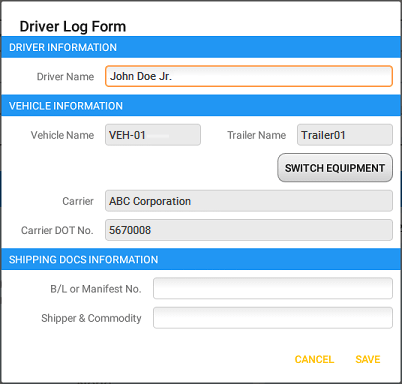
The following fields and button can be seen within this form:- Driver Name – This is where you fill in the name of the driver.
- Vehicle Information
- Vehicle Name – This field indicates the Vehicle Name.
- Trailer Name – This field indicates the Trailer Name.
- SWITCH EQUIPMENT– Tap this to launch the Switch Equipment dialog and change the Vehicle Name and Trailer Name.
- Carrier – This field indicates the name of the carrier. This is not editable
- Carrier DOT No. – This field indicates the DOT No. of the carrier. This is not editable
- Shipping Information
- B/L or Manifest No. – This is where you input the bill of lading or manifest number.
- Shipper & Commodity – This is where you key in the shipper name and the type of commodity which the shipment contains.
 Shipment Details Button: Tap this button to bring up the Shipment Details Form which is the form where you can fill in the shipment data that is to be included in the driver’s daily log.
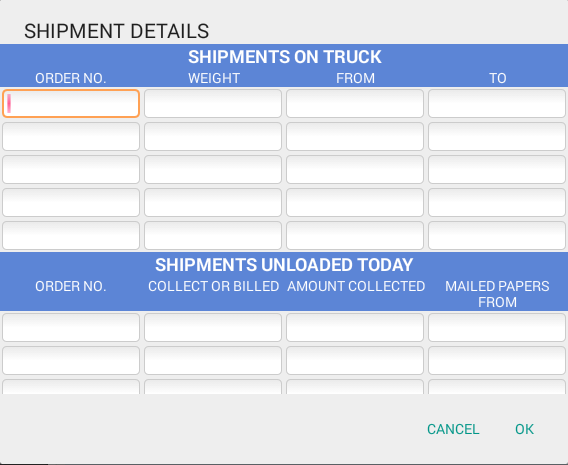
This data includes the following items:- Shipments On Vehicle
- Order No. – The order number of the specific shipment item.
- Weight – The weight of the shipments.
- From – The point of origin of the commercial motor vehicle.
- To – The destination of the commercial motor vehicle.
- Shipments Unloaded Today
- Order No. – The order number of the specific shipment item.
- Collected or Billed – The preferred payment method.
- Amount Collected – The amount collected for the shipment.
- Mailed Papers From – The name of the shipment company where the shipping-related documents are from.
- Shipments On Vehicle
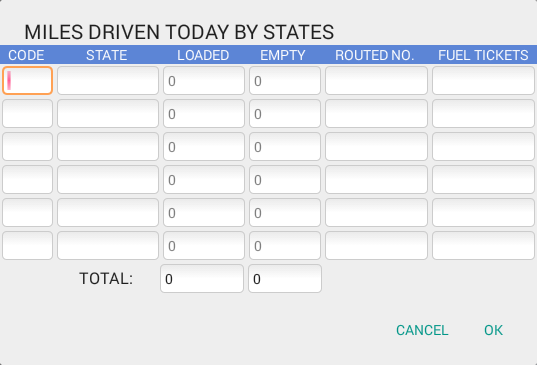
 Miles Driven Today By States Button: This form allows for the ability to report mileage by state data. The following fields can be completed within this form:
- Code – The code for this record when the vehicle was driven in this state
- State – The state where the vehicle was driven
- Loaded – The weight loaded when the vehicle was driven
- Empty – The weight emptied when the vehicle was driven
- Routed No. – The route number where the vehicle was driven
- Fuel Purchased Tickets Attached – The number of gallons of fuel purchased. Tickets are attached when generating the certified log for the day.
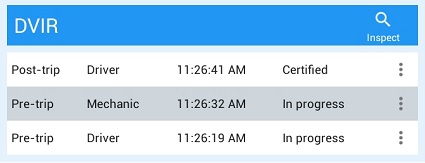
- DVIR: This is where you can view a list of the DVIR conducted during the selected working day.
- Tap the
 icon to open the pane for the Email and View options.

- Tap the
 Email Button to send the completed vehicle inspection to an intended recipient.
 - Tap the
 View Button to view the vehicle inspection details.
 - Tap the
 Remove Button to remove the inspection (Note: You can only remove In Progress vehicle inspection.)
- Tap the
 DVIR Button: Tap this button to bring up the DVIR screen of the HOS app which is where you can perform a DVIR. For more information on how to manage DVIR, please proceed to the Hours of Service DVIR help screen.